Showing posts with label tutorial. Show all posts

Thursday, 14 August 2014

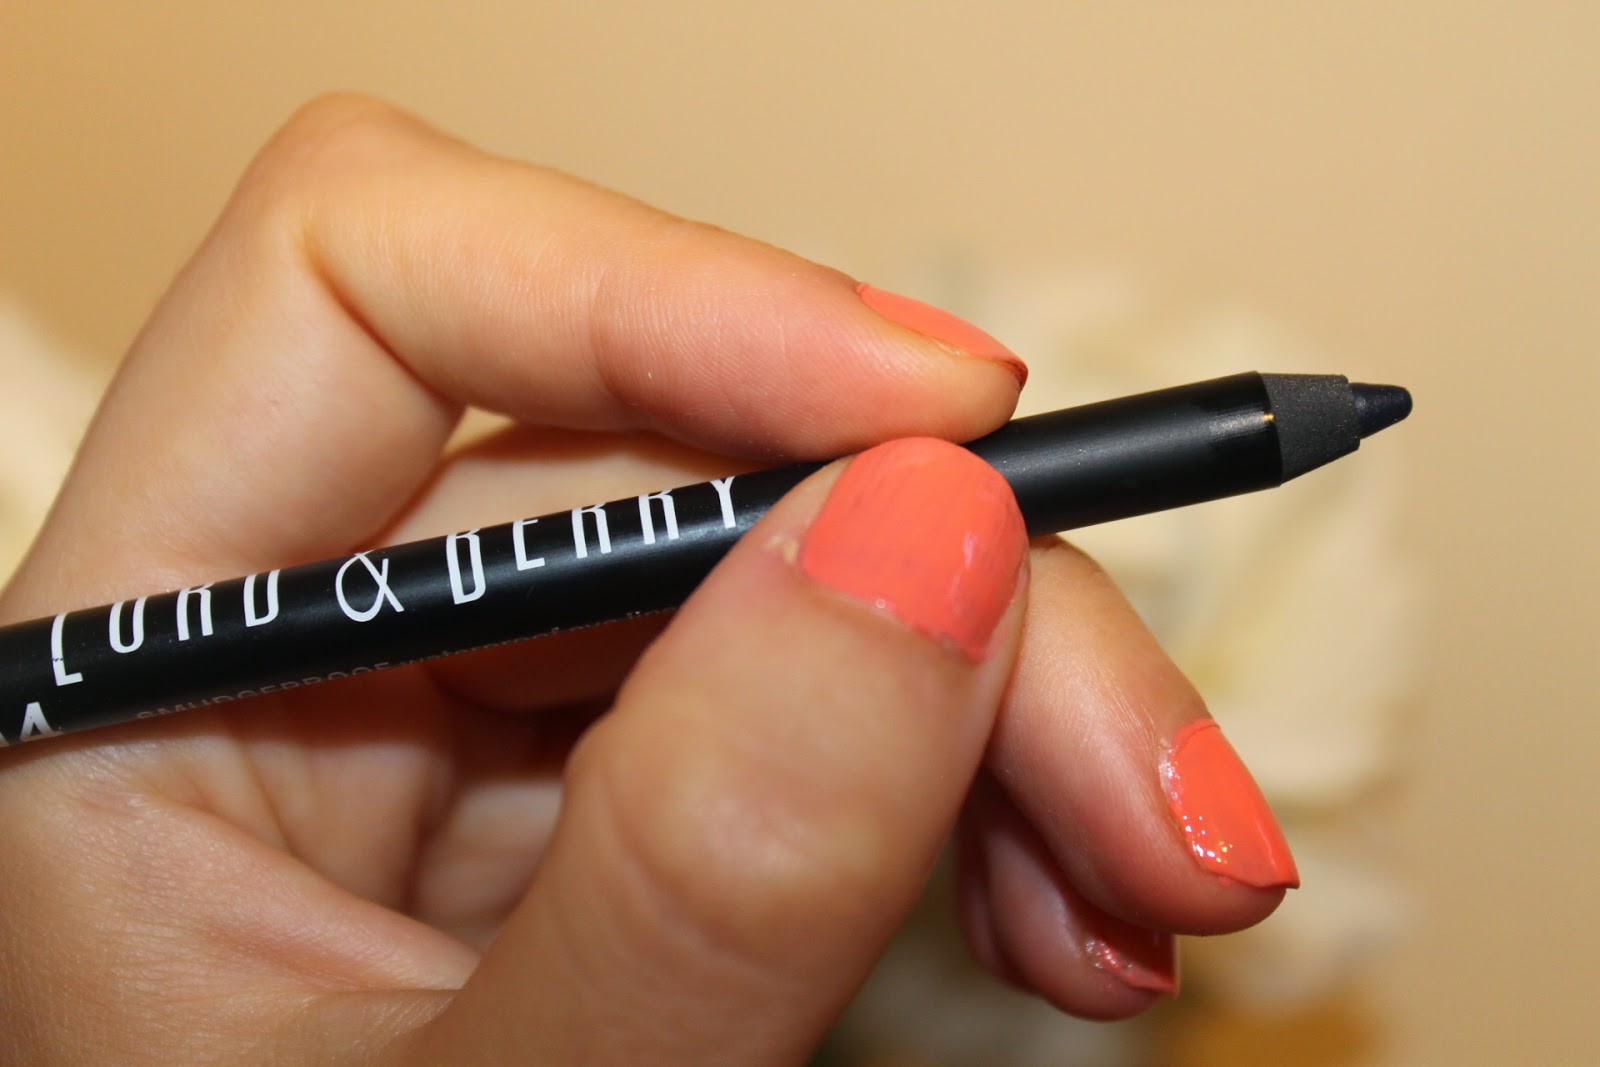
Lord & Berry black eyeliner for smokey eyes

Hey there ladies!

My favourite day makeup is a light smokey eyes.  It's achieved by a light shimmery eyeshadow on the lid and then lining the eyes with a smudgey black eyeliner.  I find this sort of look much easier in the day as it really brings the best of your eyes out, however, it isn't heavy at all so you don't look OTT.


I achieved the look below so simply, all I did was apply a light finely shimmery chanel eyeshadow in 46 Lotus (here) as it is almost skin coloured but adds a nice shimmer.  I then lined the inner waterline with Lord & Berry soft black pencil eyeliner (here).  Using the same pencil eyeliner I also went thickly underneath the lowerlashes.  This helps your eyes to look more defined and winder.  Then, very lightly I lined the top lashline too and gently smudged it with my finger.


What makes Lord & Berry eyeliners different to other liners is its consistency.  It is almost waxy. This makes it perfect for smokey eyes as it is smudgable and then sets.  This creates a really beautiful smokey effect which isn't too harsh.  It's therefore perfect for my natural smokey eye look above.  It can also build up colour by going over  again.

It can be purchased (here) from LookFantastic for £9.00

Friday, 25 April 2014

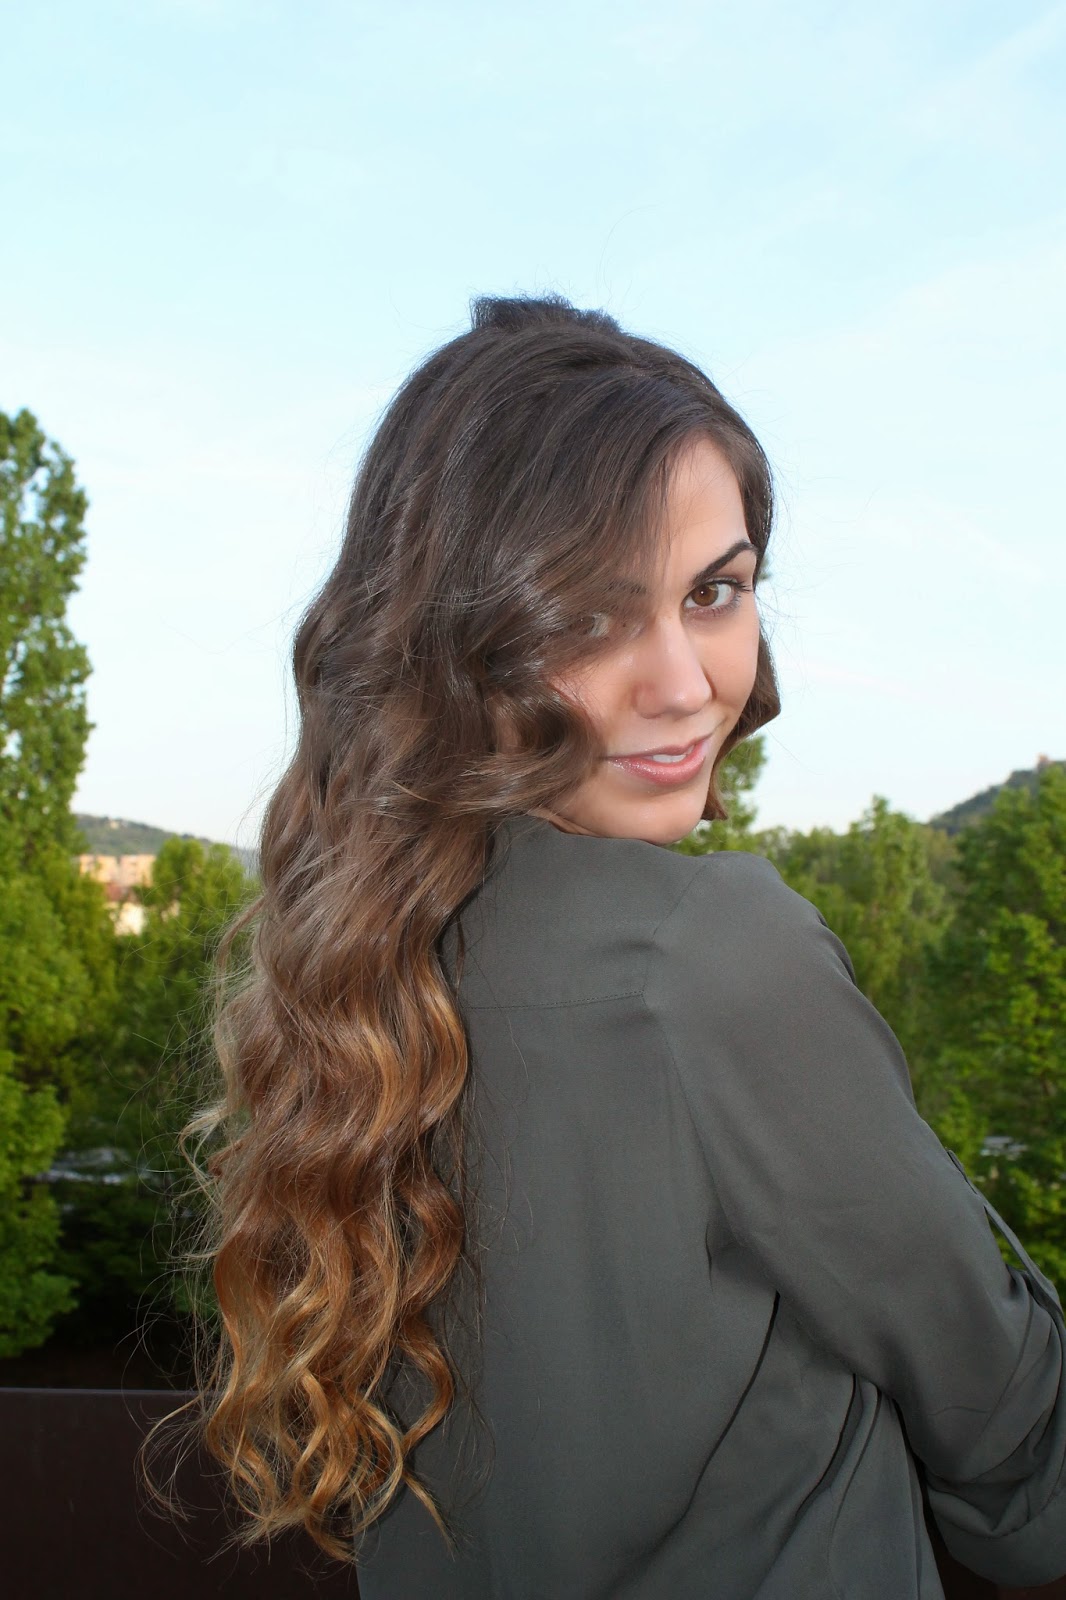
2 minute natural wavy hair

Hello Ladies!

My last post was on wavy hair too, but it was achieved with blowdrying the hair around a round barreled brush.  The results were fairly glamourous, but it is very labour intensive.  Achieving that look every day would take so much time and the heat would not be a friend to your hair.

Here I'm going to show you how to achieve natural wavy hair which is possible in just two minutes but with no heat.  


Ok, so I know the waves aren't as bouncy or as beautiful as in my last post where they had been styled, but this is 'natural'so you have to work with what you've got haha! Even if you haven't got naturally wavy hair this look is still possible and uses an age old technique.

Wash and condition your hair as usual and comb through with a tangle teezer.  Gently towel dry and d if you have a smoothing serum, run that through too.  As we're not taming our hair with heat, it's going to need all the anti frizz help you can get!

Then, run through it again with a brush.  Having knot free hair is essential to this style if you don't want to be looking like a crazy wild woman.  Then pull it back and plait it tightly.  This whole process really does take 2 minutes.  Here's the part where I cheat though - go to sleep on it like this.  This means it dries naturally without getting frizzed up by the blow dryer.


In the morning, take out the plait and run your fingers through it and scrunch it upwards.  Spray a little hair spray of the bottom half to mke the waves last linger.  This look has waves on the bottom half and is straight at the top as where you've pulled it back in the plait, only the bottom half becomes wavy.  Great for that beach hair look.


I did cheat a little and run the striaghteners through my fringe - just because I personally am not a fan for a wavy cow-lick fringe and no amount of pulling or clipping will ever make it straight naturally!

But anyways, I hope you like this natural and easy 2 minute wavy hair tutorial!

Fiocco Bianco

Saturday, 19 April 2014

How get wavy hair with Denman brushes

Morning my lovely ladies!

I was watching this video by Denman Brush http://tinyurl.com/nqv2b6p  which helps you choose which hair brush you need depending on the style you want.  I have a large collection of brushes but was missing the round brush for curling hair as I don't normally achieve that look.  I was so curious and loved the look of the round barrel brush I had to try it out....and also the tangle tamer as my hair is super prone to tangles.


I loved the results so I thought I would give a quick tutorial on how to achieve wavy hair using the Denman round barrel brush and tangle tamer.  I really like the below effect as it has more life and volume than straightened hair yet doesn't look wild at all.  I know you guys have seen my natural wild effect which is great for growing out your hair, but sometimes, a curl needs to look a little more tamed....especially if you're going out!

Achieving this look:

I used the following tools:


Prep the hair
  • Wash your hair with shampoo and conditioner 
  • Towel dry
  • Spray hair with Elnett heat defence
  • Section the hair into quarters ear to ear
Curl the hair

  • using the Denman round barrel brush take inch strands and blow dry from root to tip curling the brush around the hair and pulling down
  • Work your way across each section then spray with hair spray
  • Work on the fringe separately and pull away from the face to give more bounce
  • Use the Denman tangle tamer to brush through the tight curls to loosen them to give more natural look


Picture overload as usual, sorry guys!

But I hope you like the wavy hair look that I achieved with Denman Brushes.  I felt a bit like Rapunzel and it was soo far from my usual poker straight hair I couldn't help fiddling with it all day.

They're available from www.denmanbrush.com or from Boots.
*brushes ent for consideration and review

Tuesday, 11 February 2014

Getting a sleek plait with Denman

Morning my Beauties!

In order for your hair to look good, its important to look after it with not just the right products but the right tools.  It's a shame it only took me 25 years to figure out!

Why would you want a sleek plait?

Easy - to avoid heat styling.  Even with hair protector, it really does ultimately damage the ends of the hair so where possible, if you can, natural is best.  I know, I know - natural is a painful word. It conjures images of  'out of control' and 'frizz' but that needn't be the case.

 I love wearing a sleek plait as its completely natural, giving my hair time to recover from the straightening during the week, as well as keeping it out of the way, under control and ultimately looking good. 


The Tools of the Trade - 


Achieving a sleek plait
  • After washing your hair and detangling it gently blow dry your hair running your fingers through it to remove larger knots.
  • When dry use the Denman porcupine brush with the nylon quill to remove all smaller knots.  This brush is fantastic for thicker hair given its paddle shape and plastic needles which effortlessly pass through the hair while the bristles add shine.
  • Next using the Denman boar bristle brush which is designed to add shine gently go over your hair again and sweep it to the side with this brush, gently sweeping any stray hairs together.
  • Then, gently plait from your chin length down to the ends.
  • To fiinsih, brush your fringe with the boar brush to add shine and sweep it behind your ears. 


These two Denman brushes are a fantastic duo for detangling and for adding shine to your hair giving a great sleek look to your 'do'.  I love having them in my collection and I'm sure they'll last as long as some of my other denman brushes which I've had over 10 years!

I hope you guys found it helpful, let me know if you have tried any of them out before!!

Brushes available from www.denmanbrush.com and from Boots, Superdrug, Asda & John Lewis

*Products sent for consideration and review

Monday, 13 January 2014

Tutorial: Wavy Hair with GHD's V Classic Styler

Hey Ladies!!

For special occasions I tend to pull out the 'wavy hair' look.  But, it wasn't always so easy discovering how to do it.

For big bouncy curls, I would reccommend curling tongs, whereas for a relaxed, wavy hair look, I've come up with the following tutorial using GHD's V Classic Styler as I think it looks a little more natural whilst adding volume to your hair.


 Tutorial

1.) After washing and rough trying you hair, pin up the top 3/4 of your hair with a hair band roughly where your ears are.
2.) Comb it and spray on a heat protector.  I like BB Spray de Mode (link) as it protects the hair against heat whilst acting as a hair spray to hold the wave in your hair once styled.
3.) Turn on your GHDs and wait for them to fully heat. (Best when even the outter plastic is hot too).  I would recommend *these* as my GHD V classic styler has lasted 3 years and they've been working perfectly to this day.  They are reliable and reach the heat needed  as well as creating lovely round waves because of the barrel shape.  They are also currently £20 discounted.
4.) Taking 1 inch strands of hair, run the straighteners down your hair shaft in a downwards fashion.
5.)Take the hair strand again and when you run down to half wait pause and twist the GHDs 90 degrees so your straighteners are now twisting your hair in a different direction.  Slowly pull the GHDs down at this angle.
6.) This should create a slight wave.  If it is not wavy enough do it again.
7.) When happy with your wave spray it with hair spray and move to the next one.
8) When the first quarter of your hair is done unclip the next quarter and keep doing so until finished.
9) When done run your fingers through your hair to make it look more natural.

And that's it!  Hope this helped!

Let me know if it works for u!

Love fiocco bianco xxx


Wednesday, 22 May 2013

Green eyeshadow and wavy hair

Good morning everybody,

It's another day in the office, but that doesn't mean it has to be dreary!  Today I've got a mega low maintenance look which takes minutes, green eyeshadow with wavy hair.  Going for a coloured eyeshadow takes the same amount of time as a neutral coloured one to apply, yet makes far more of a statement.  Leave your hair natural and pin it up at the sides and you'll be ready for work in seconds.


Makeup: Le teint touche YSL foundation in B55, MAC blush in Pinch me, Chanel eyeshadow in Khaki Discret, Diorshow blackout waterproof Mascara

I'm crazy about this Chanel eyeshadow as it's not too green.  It has a lot of gray hues in there and has amazing staying power.  I kept my lips natural as with dark eyes I didn't to draw attention away from them nor look too made up.  This look is perfect for work as it is low effort yet makes you look perky and ready to go!

What's your favorite low maintenance work makeup routine?

Friday, 17 May 2013

Natural Work Makeup


Morning people

Just a quick post about the makeup I put on this morning for work.  It is fairly typical of what I wear most days.  I work on the corporate side of a cosmetic comany so I have to come in having made a bit of effort, yet not so much I look like I'm off for a night on the town!


Makeup: Benefit Playstick foundation,  Bobbi Brown creamy concealer kit,  Mac prep and Prime loose finishing powder, Bobbi Brown shimmer brick in Pink Quartz, Benefit Badgal lash mascara

I usually choose to wear a long wearing foundation.  Benefit's Play Stick is my usual choice (in Tea Party) for work foundation as it has great staying power even without primer.  I also love its consistency.  It makes a great change to liquid foundation which I first get all over my hands before applying as it just goes straight on. I then just finish it off with some mac loose powder.

For the eyes, I just used the Bobbi Brown shimmer brick as a shimmery eyeshadow.  I like how smoothly it goes on and the effect it has for brightening up the eyes.

I know my hair leaves a lot to be desired but long hair is pretty high maintainance so I usually just put it in a side plait!

What's your work makeup routine?


Wednesday, 8 May 2013

Casual Makeup

Hello!

Here's just a quick post showing the difference a little bit of makeup makes, but still creating a very natural and casual look.  As you can see me without makeup leaves a lot to be desired, but it doesn't take much to create a 'flawless' complexion or show off your eyes.

Buongiorno!

Volevo fare sola una post veloce per mostrare quanto e' grande la differenca con un po' di trucchi!  Ma il look creato e' ancora molto casuale e naturale!  Come potete vedere, sensa di trucchi non sono molto bella, ma con un pochino ti trucchi posso creare pelle liscio e sfruttare al meglio i miei occhi.


Creating the Look:

Prep:

The most important part to achieving  a 'natural' look is creating clear skin.  The below picture is after the application of the following:

La cosa piu' importante per riuscire a fare un look naturale e di creare pelle liscia.  Nel foto di sotto si puo vedere come sono dopo che ho applicato le seguente:

1) Primer - in order to create a natural look , its important not to use a dewy primer.  Much better is a mattifying, pore minimizing primer. 
Splurge: Benefit's Pore-fessional
Steal: Number 17's primer.

2) Foundation - I'm currently in love with YSL's Teint Touche Eclat foundation in B50.  It's got a gel like texture so it easily glides on and it can also be built up as well depending on how much coverage you want.  It is also great for covering those bags under the eyes.

3)Set - I set this foundation with MAC's Prep+Prime loose white powder and MAC's magical cool powder


Now it's time for the fun part - really bringing out the best of your features

Eyes

4) As this is a natural look I didn't want anything heavy.  Instead, Ijust lightly lined the eyes with a small angualr brush with a gold / black eyeshadow.  I then put on lashings of mascara - I love Dior Blackout as it really builds up your lashes and exaggerates their natural length.

Lips

5) As you can see I had covered my lips lightly in foundation too - this is to bring out the most of my light pink lipgloss as otherwise on red lips the colour wouldn't show up.
I used Clinique's but Boots no7 do a similar one for a cheaper price.


And that's it - it's really simple to create a causal makeup look - don't go to heavy with your eyeshadow and no blusher is even needed.  Keep your lipstick / gloss light in colour and be sure to remember lashings of mascara!

Hope you enjoyed

Fiocco Bianco
xxx

=